Two major constraints for this week. 3d print something that fits inside a 1" cubic bouding box, and make something with moving parts. So I decided to make something that could be printed inside the bounding box but then expand to be "larger" after it was done printing.
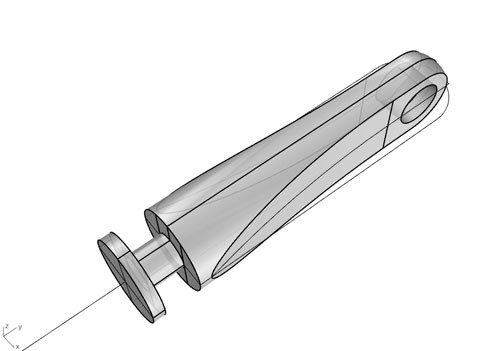
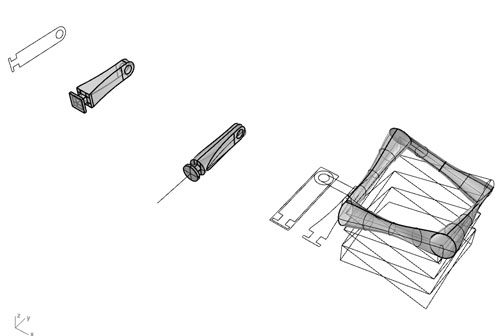
This is the basic unit. it is repeated, but printed as nested into itself. Therefore, the part should be able to hinge post printing.
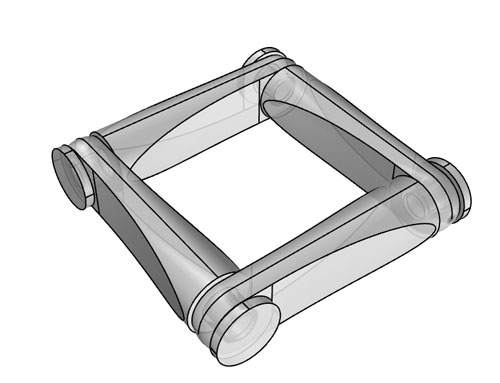
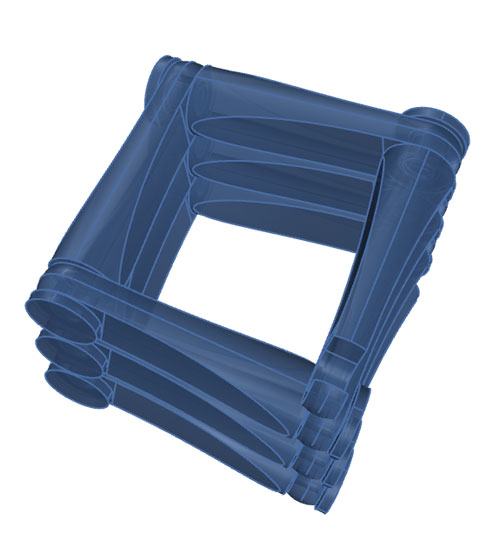
Nested into itself in a closed loop.
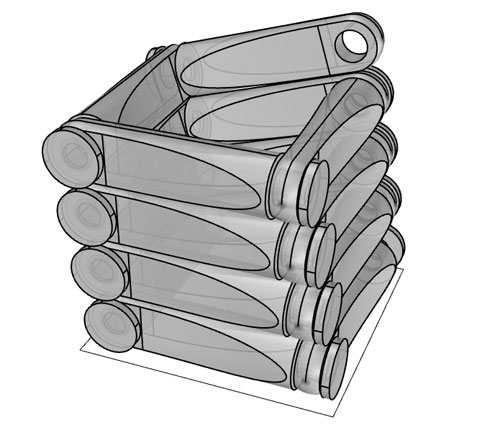
Nested into istelf in a spiral.
With this configuration, I realized I had a lot of unused real estate in the middle of the bounding box, so I decided to fill it with something useful just in case this hing piece didn't work.

So I thought I could fit some chopsticks holders in the middle.
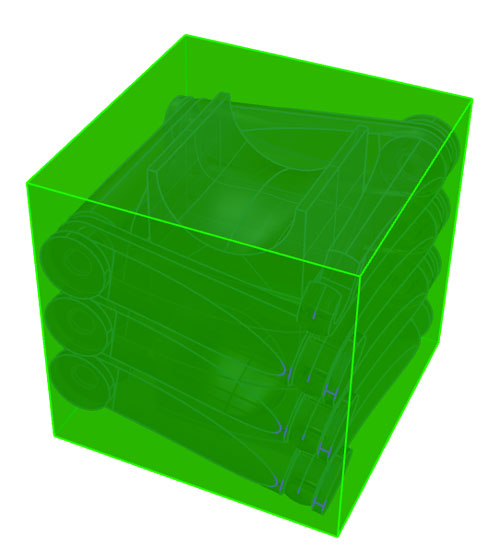
1" cubic bounding box.
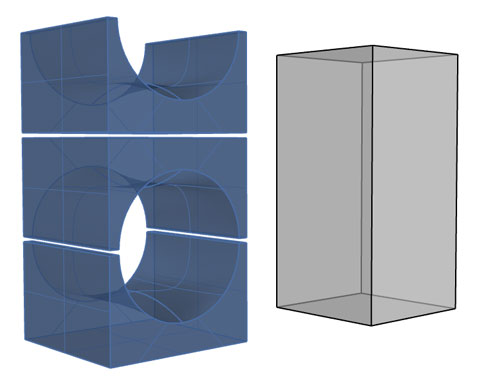
Left over space made into three chopsticks holders.

Lil chopstick holder.
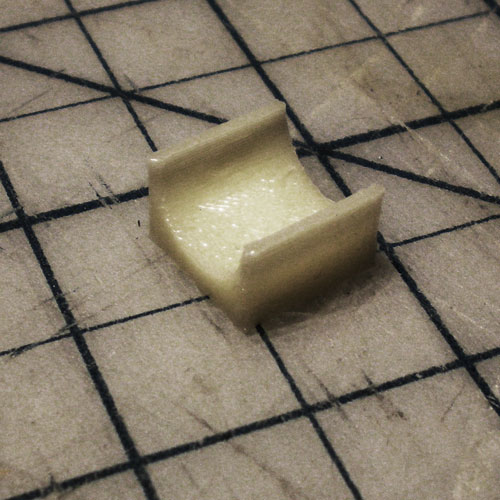
Printed.
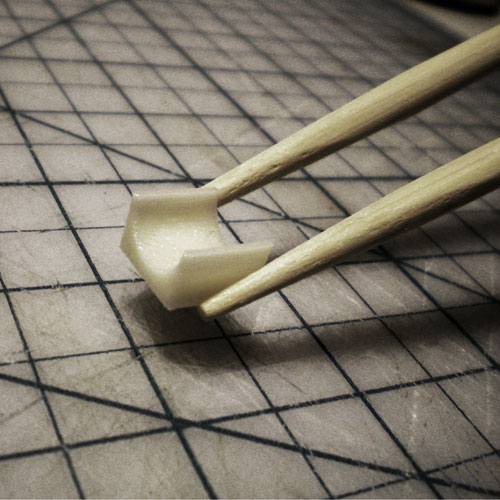
Pretty small.
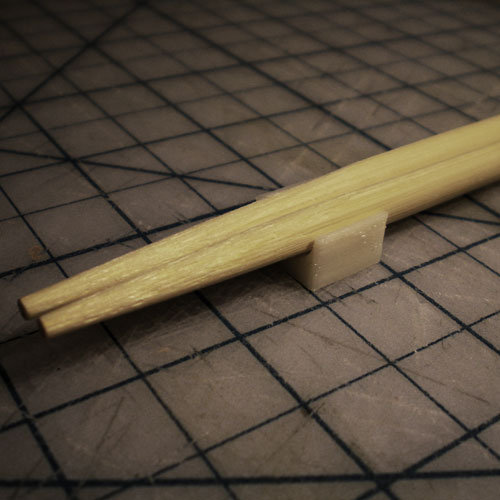
Pretty effective.
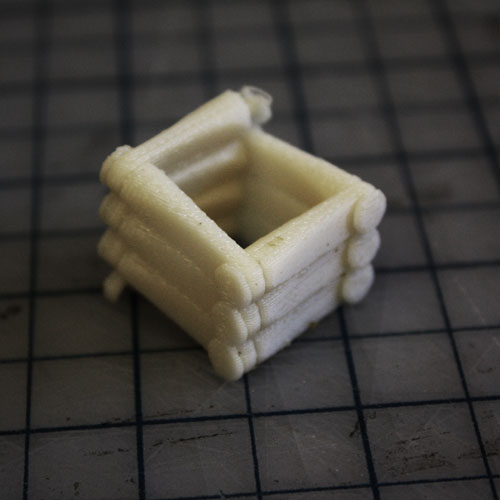
Hinged piece printed.
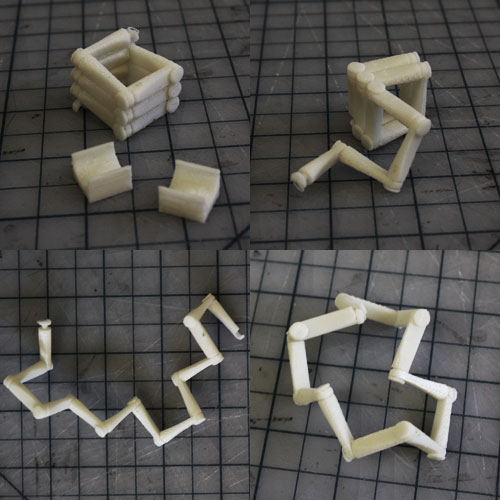
Unfolding.
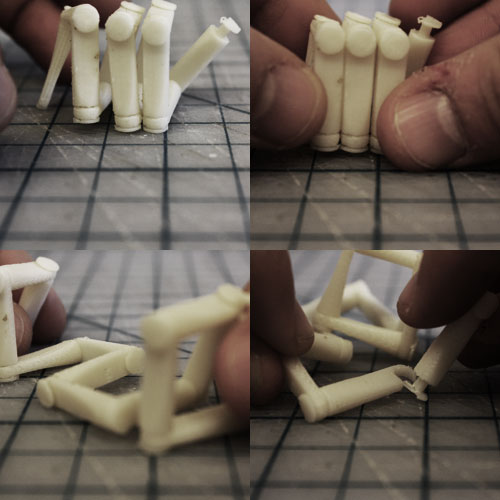
When the piece unfolds it can hook back onto its end to form variations of a closed loop.

Unfolded variation.